Taking screenshots or screenshots is something that is often done and is an important job for some people. How to take a screenshot on a MacBook is different from taking a screenshot on Windows, there are several steps to take a screenshot on a MacBook. By knowing several ways to take screenshots, you can determine which method is the best and you can use it to take screenshots from the MacBook as needed.

Take Full Screen Screenshot
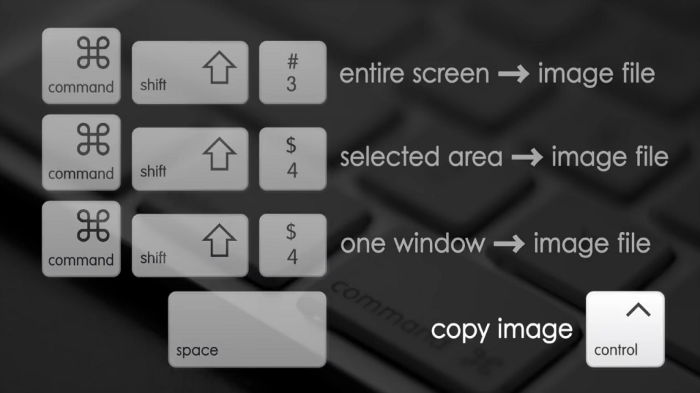
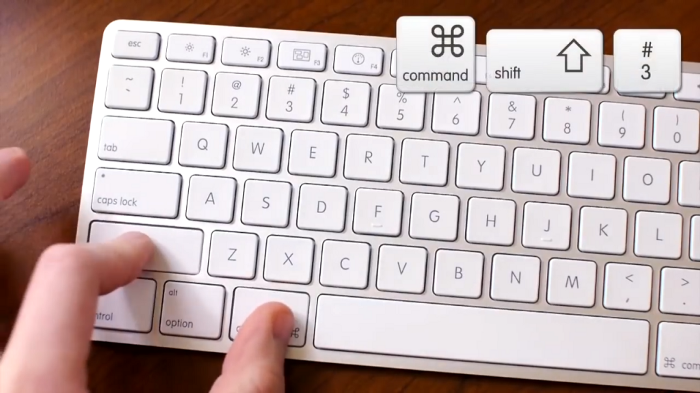
Simple keyboard commands y a ng first is by simultaneously pressing the C button ommand + Shift + 3. This command is used to take a screenshot of the full screen, the screen will be saved as a file on the desktop. If you want to paste or use the screenshot result directly in the application you are using without saving the file to the desktop, you can directly copy and paste by pressing Command + Control + Shift + 3 after that paste it into the MacBook application or program that you are using by pressing Command + V.

Take only partial screenshots
Next, that is to take a partial screenshot, you can use the Command + Shift + 4 command after that a selection arrow will appear then click and drag the arrow to select which part you will take as a screenshot, then the image will be saved on the desktop. If you want to use the image directly without saving it to the desktop, you can use the Command + Control + SHift + 4 command then paste it into the application that you will use by pressing Command + V.

Take App Window only Screenshots
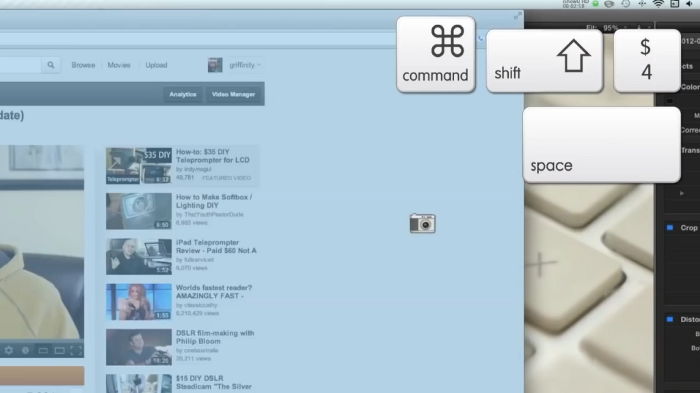
If you want to take a screenshot of a full window of the application, you can use the Command + Shift + 4 + Spaci command . After that a selection arrow will appear, click on the arrow, then the arrow will change to the camera icon used to select which window to take then click and the screenshot will be saved on the desktop automatically.

